
Butterfly Box Braids: Stylish Looks and How to Achieve Them
Butterfly braids have quickly become one of the most stylish
Authentic Products Only • Fast Delivery Across Ghana

Learning how to make a wig with closure is one of the best beauty skills any modern woman can master. Whether you love sleek straight styles, voluminous curls, or trendy braided looks, a closure wig gives you the freedom to switch up your hairstyle without damaging your natural hair. It’s a protective, stylish, and cost-effective option that has become increasingly popular among women in Nigeria, Ghana, and beyond.
A wig with closure is designed to mimic your natural scalp, giving you a realistic finish at the crown area. Unlike traditional wigs, closures especially lace closures create a seamless blend that looks like real hair growing from your scalp. From learning how to make a wig with lace closure to experimenting with styles like a curly wig with closure or a bob wig with 360 lace closure, the possibilities are endless.
If you’re a beginner, don’t worry, this guide is designed just for you. In this tutorial, you’ll learn everything from the tools you need to step-by-step instructions on creating your own wig at home. With a little patience and the right guidance, you’ll be able to create a professional-looking wig that enhances your beauty and confidence.
A closure wig is a wig made using a lace or silk closure piece that covers a portion of the front or crown of the head. This closure gives the illusion of a natural scalp and allows for realistic parting. Understanding how to make a wig with closure for beginners starts with knowing how important this small but powerful component is.
Closures come in different types, including free part, middle part, and three-part closures. If you’re wondering how to make a wig with a free part closure, this option allows you to style your hair in any direction, giving you maximum flexibility. It’s perfect for women who love switching between middle and side parts.
Another major advantage is protection. Closure wigs reduce the need for constant styling, heat, and tension on your natural hair. This makes them ideal for maintaining healthy hair while still enjoying beautiful styles.
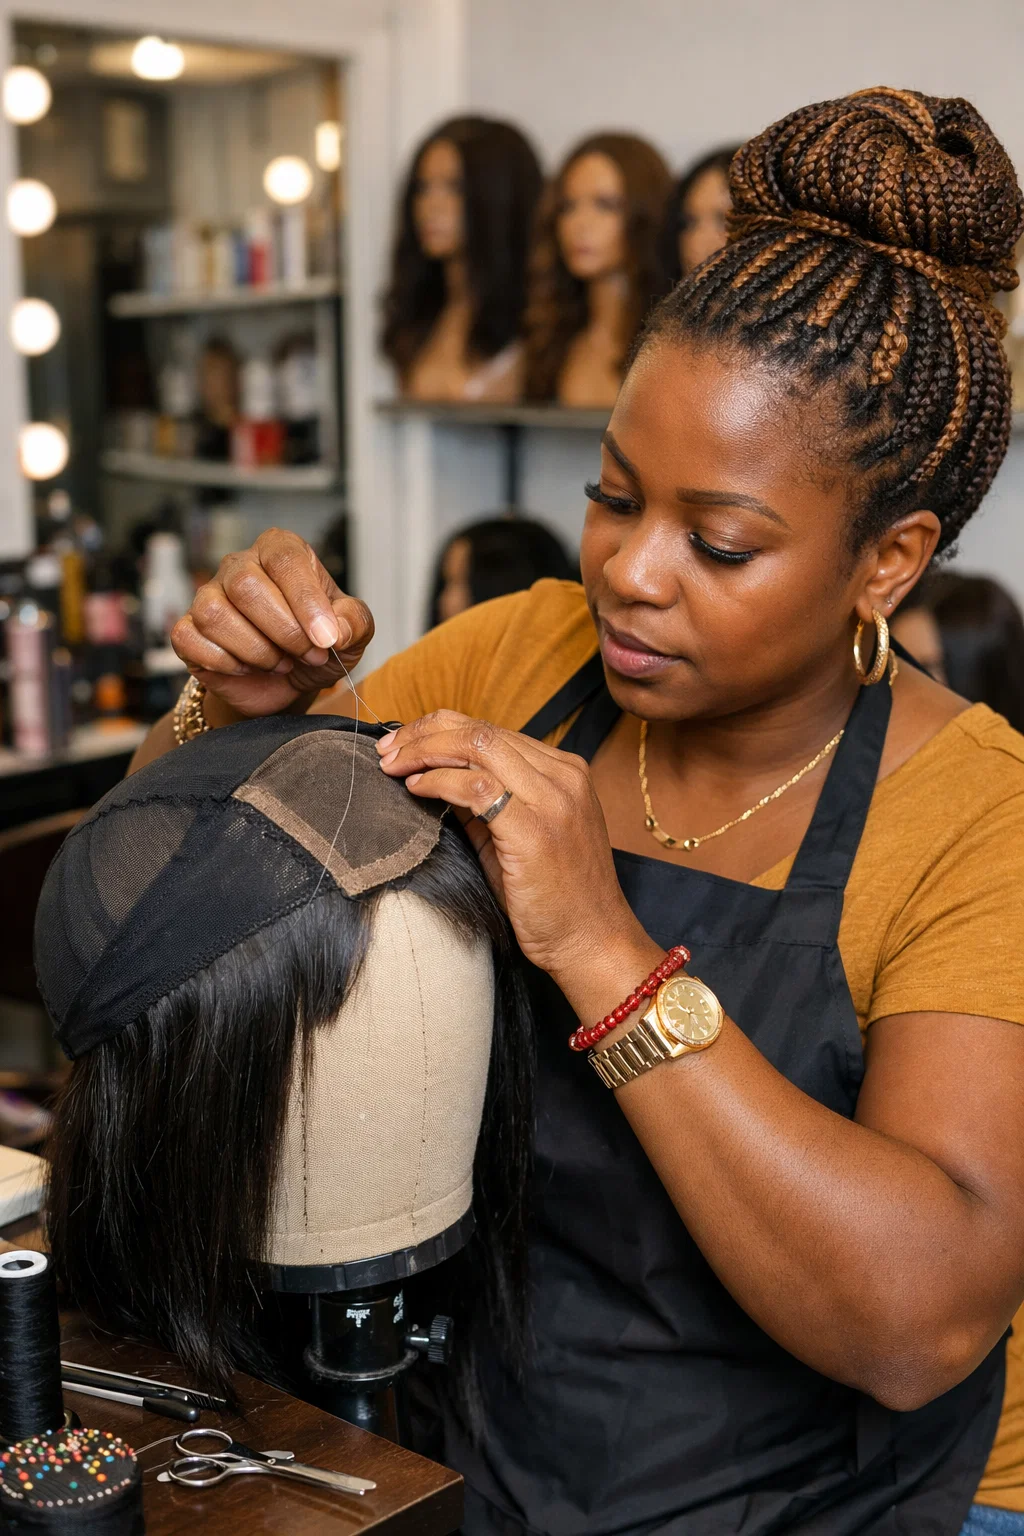
Before learning how to make a wig with closure, it’s important to understand not just the tools you need, but also what each one does. Using the right tools correctly will make your wig-making process easier, neater, and more professional especially if you’re a beginner.
Below is a detailed list of essential tools and their uses:
Use: A wig cap is the foundation of your wig. It holds all the hair and the closure in place, giving your wig its structure and fit.
Use: The lace closure mimics your natural scalp and creates a realistic parting. It is essential when learning how to make a wig with lace closure for a natural-looking finish.
Use: These are the main strands used to build your wig. The type of bundles you choose determines the final style, whether it’s sleek, voluminous, or textured (e.g., how to make a curly wig with closure).
Use: This provides a stable base to construct your wig. It helps you position your wig cap and closure properly while working.
Use: T-pins are used to secure the wig cap and closure firmly onto the mannequin head so they don’t shift during the process.
Use: These are used to sew the closure and hair bundles onto the wig cap. This method is strong and long-lasting, ideal for durable wigs.
Use: Used as an alternative to sewing, especially for quick methods like how to make a closure wig with glue or a quick weave wig with closure.
Use: Scissors are used for cutting excess lace, trimming threads, and shaping the wig after construction.
Use: Helps in detangling, parting, and styling the wig during and after the process for a neat finish.
Use: Essential if you’re learning how to make a wig with closure using crotchet pin. It is used to loop hair extensions through the wig cap.
Use: Helps you measure your head size or the wig cap to ensure a perfect fit.
Use: Used to section the hair bundles while working, making the process more organized and precise.
Use: Helps you store and style your wig after making it, keeping its shape intact.
Choosing high-quality tools and materials is very important. A good lace closure enhances realism, while premium hair bundles ensure your wig lasts longer and maintains its beauty. Whether you’re creating a sewn wig or exploring how to make a quick weave wig with closure, your tools play a major role in achieving a flawless result.
Creating a wig might seem complicated at first, but once you break it down into steps, it becomes much easier. This beginner-friendly guide will walk you through the entire process of how to make a wig with closure from start to finish.
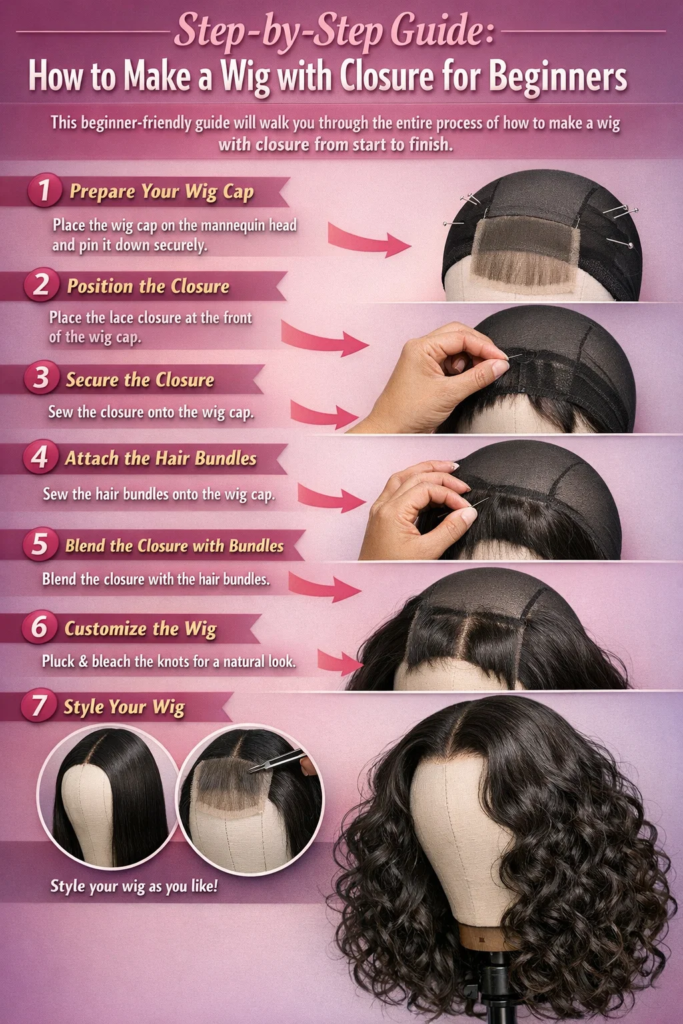
Place your wig cap securely on a mannequin head and pin it down using T-pins. Make sure it is tight and well-positioned to prevent shifting during the process.
Take your lace closure and place it at the front of the wig cap. This step is crucial when learning how to make a wig with lace closure, as proper placement ensures a natural-looking hairline.
Sew the closure onto the wig cap using a needle and thread. If you prefer a faster method, you can learn how to make a closure wig with glue, but sewing is more durable and recommended for beginners.
Start sewing or gluing the hair bundles onto the wig cap from the back, working your way upward. Ensure the wefts are placed closely together to avoid gaps.
Carefully sew or glue the bundles around the closure to create a seamless blend. This step is key to achieving a natural finish.
Pluck the closure slightly to make it look more realistic. You can also bleach the knots if needed for a more scalp-like appearance.
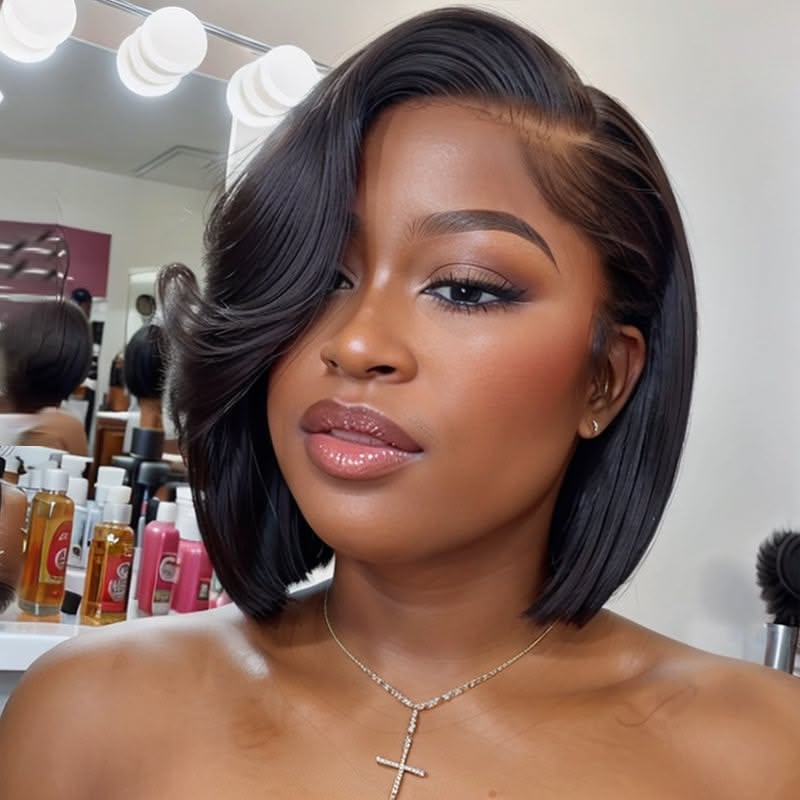
Now that your wig is complete, you can style it however you like. Whether you want a sleek look or you’re exploring how to make a curly wig with closure, this is where your creativity shines.
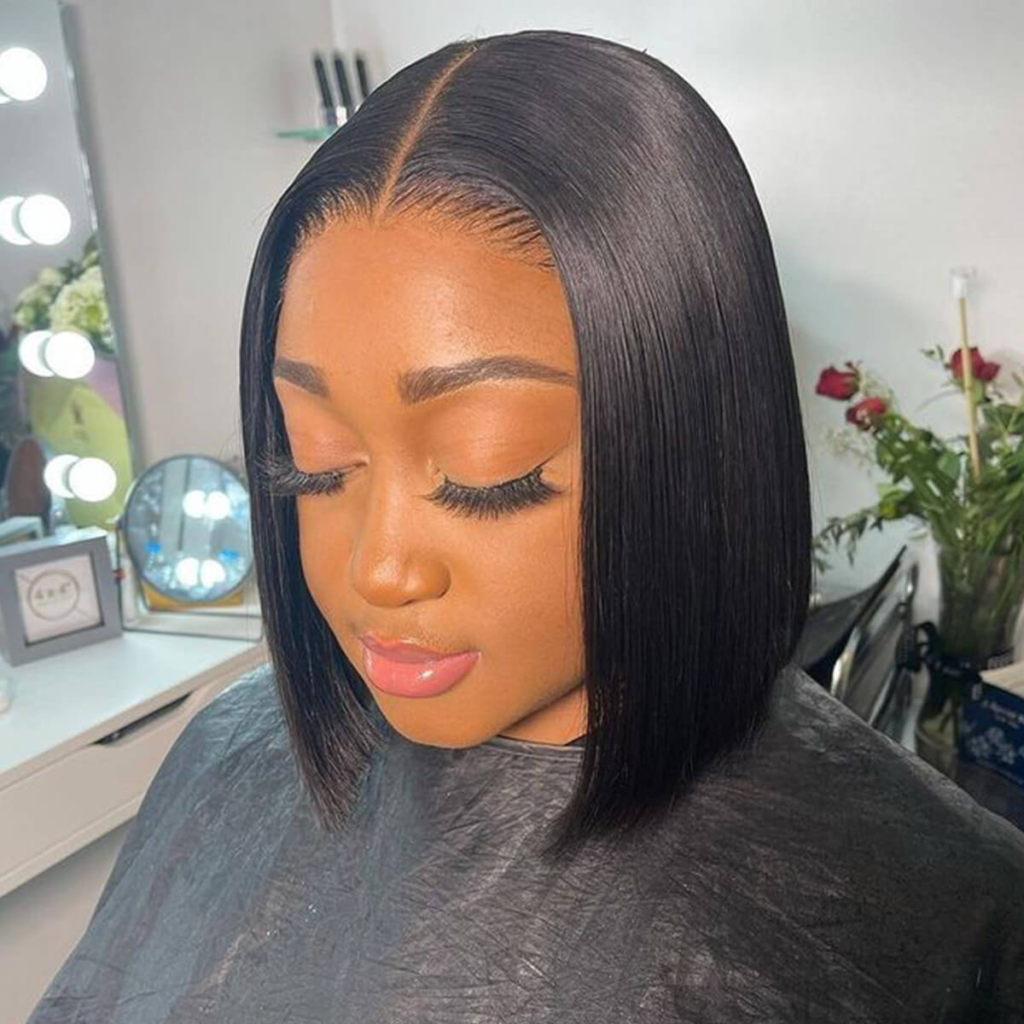
One of the best things about learning how to make a wig with closure is the variety of styles you can create. From simple everyday looks to glamorous styles, closure wigs offer endless versatility.
You can create a sleek bob by learning how to make a bob wig with 360 lace closure, which gives you a fuller and more flexible styling option. This style is perfect for women who love short, chic hairstyles.
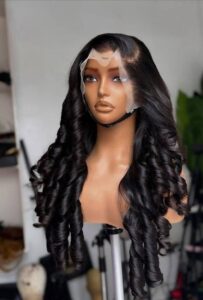
If you prefer volume, learning how to make a curly wig with closure is a great option. Curly wigs are feminine, bold, and perfect for special occasions or everyday wear.
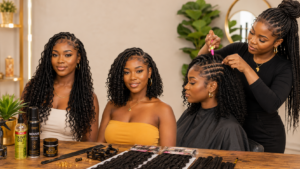
For protective styles, you can even explore how to make a braided wig with closure, combining the beauty of braids with the convenience of wigs. This option saves time and reduces tension on your natural hair.
When learning how to make a closure wig with glue, it’s important to understand the pros and cons compared to sewing. Both methods are effective, but your choice depends on your needs and skill level.
The glue method is faster and ideal for beginners who want a quick result. It is commonly used when making a quick weave wig with closure. However, it may not last as long as the sewing method.
On the other hand, sewing is more durable and provides a stronger hold. It’s the preferred method for long-term use and is recommended if you want your wig to last for months.
Proper maintenance is essential to keep your wig looking fresh and beautiful. No matter how well you learn how to make a wig with closure, poor maintenance can reduce its lifespan.
Always store your wig on a mannequin head to maintain its shape. Wash it regularly using mild shampoo and conditioner, especially if it’s a curly wig with closure.
Avoid excessive heat styling, and use heat protectant products when necessary. With proper care, your wig can last for several months while maintaining its quality.
Yes, learning how to make a wig with closure for beginners is easy with practice and the right tools.
It typically takes 2–4 hours depending on your experience.
Yes, sewing is more durable, but glue is faster.
Yes, you can learn how to make a wig with closure using crotchet pin for a different technique.
A lace closure with a free part is the most versatile.
Usually 2–3 bundles for a full wig.
Yes, learning how to make a braided wig with closure is a great protective styling option.
With proper care, it can last 6–12 months.
Yes, you can curl, straighten, or dye it.
It offers more styling flexibility, especially for updos.
Now that you understand how to make a wig with closure, you’re fully equipped to create your own beautiful, salon-quality wigs from the comfort of your home. This skill not only saves you money but also gives you complete control over your style, length, and texture. Whether you’re making a sleek bob, a voluminous curly wig, or even experimenting with braided styles, the possibilities are truly endless.
Taking the time to learn each step, from placing your closure to styling your finished wig will help you achieve a flawless and natural look every time. With practice, you’ll become more confident and faster, turning this skill into a valuable beauty routine or even a business opportunity.
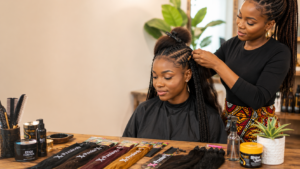
If you prefer a professional touch or want a perfectly customized wig without the stress, Twinkles Beauty stands out as one of the best hair salons in Nigeria and Ghana. Their expertise in creating high-quality closure wigs ensures you get a stunning, natural finish that enhances your beauty and confidence.
 Sale!
Sale! Sale!
Sale!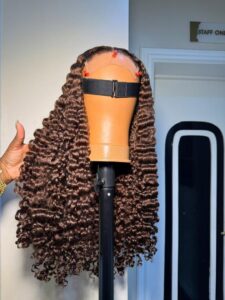 Sale!
Sale!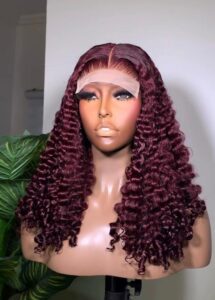 Sale!
Sale!Butterfly braids have quickly become one of the most stylish
Butterfly locs have become one of the most sought-after protective
Braiding hair with extensions is one of the most popular
Get exclusive beauty tips, product launches, and special offers directly to your inbox.

Twinkles Beauty is your trusted destination for premium skincare, haircare, makeup, and beauty essentials tailored for the modern African woman.
© 2026 Twinkles Beauty. All rights reserved
Terms & Conditions
We use cookies to improve your experience on our site. By using our site, you consent to cookies.
Manage your cookie preferences below:
Essential cookies enable basic functions and are necessary for the proper function of the website.
These cookies are needed for adding comments on this website.
Statistics cookies collect information anonymously. This information helps us understand how visitors use our website.
SourceBuster is used by WooCommerce for order attribution based on user source.