

Best Kinky Curly Hair Extensions for a Natural African Look
Kinky curly hair extensions have become a favourite choice among

Bob wigs are one of those styles that never really go out of fashion.
They work for the office, they work for owambe, and they look put-together without requiring much effort to maintain.
When you make yours with a 360 lace closure, you get a hairline that looks natural all the way around, and more freedom with how you style it.
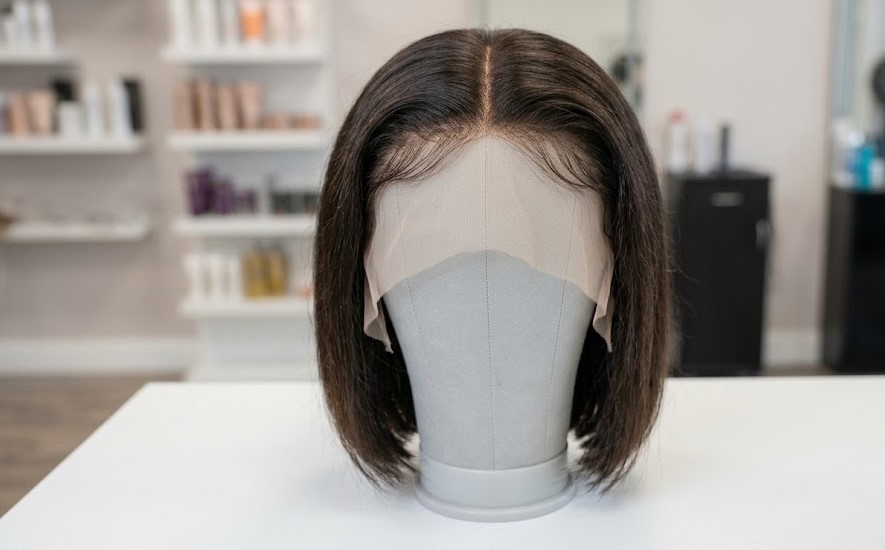
A 360 lace closure is a piece of hair that goes around your entire head like a band, with lace running along the full edge.
That lace mimics your natural hairline, at the front, the sides, and the back. The middle section is filled with sewn-in hair wefts, which give the wig its body and thickness.
Because the lace goes all the way around, you can part your hair anywhere, pull it into a ponytail, or wear it as a bob without any tracks showing. It is one of the more forgiving options for beginners because it gives you a lot of room to style once the wig is done.
Before you begin, make sure you have everything within reach so you are not stopping mid-process to hunt for supplies:
Put the wig cap on your mannequin head and pin it down with T-pins. You want it to sit flat and smooth with no wrinkles or loose sections. It might seem like a small thing, but a cap that is not properly secured will cause problems later, so take a moment to get it right before you move on.
Place the 360 lace closure on top of the wig cap and adjust it until it sits evenly around the edges. Once it looks right, pin it in place with T-pins so it does not shift while you work.
Now sew the closure onto the cap using your curved needle and thread. Work in small, even stitches about half a centimetre apart, starting from one end of the front and working your way around to the back.
When you are done sewing, use your scissors to trim off the extra lace along the hairline carefully. Follow the natural curve of the edge as you cut, and go slowly around the ear area.
Use your measuring tape to get a sense of how much hair you will need to cover the wig cap. For a bob, two to three bundles is usually enough since you are working with a shorter length. Before you start sewing, lay the bundles out so you can see what you are working with and plan how to space them. This saves you from running out of hair halfway through.
Start sewing at the back of the wig cap and work your way upward, row by row. Tie each weft down with a double knot at the start so it does not come loose. As you reach the end of each row, fold the bundle over and begin the next one. This helps everything lie flat when the wig is worn.
Keep your rows evenly spaced. If you pack the tracks too close together, the wig will feel heavy, and the bob shape will not sit the way you want it to. Continue working upward until you are just below the lace closure.
Sew the last few rows carefully so there is a clean, smooth join between the bundles and the closure. Check for any gaps and fill them in before you wrap up.
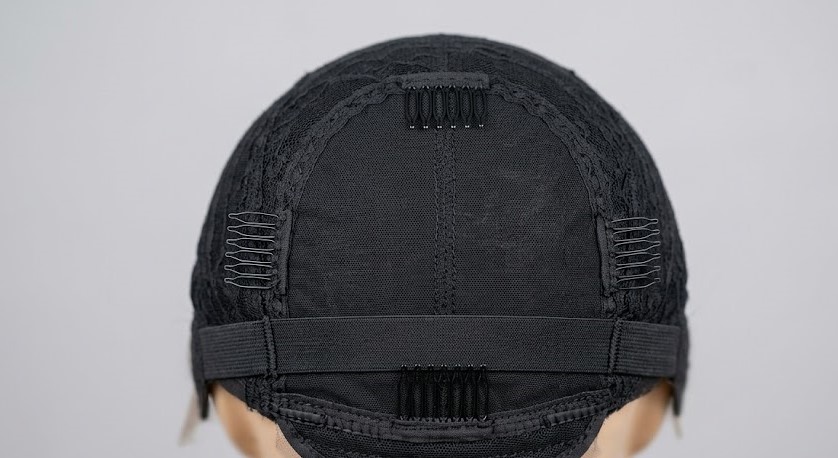
Once you are happy with how everything looks, flip the wig cap inside out and sew in your wig combs or elastic band. Combs at the front, sides, and back will stop the wig from shifting when you wear it, and an elastic band sewn from ear to ear gives it a snug, comfortable fit. This step is easy to skip, but it is what separates a wig that stays put from one that keeps sliding.
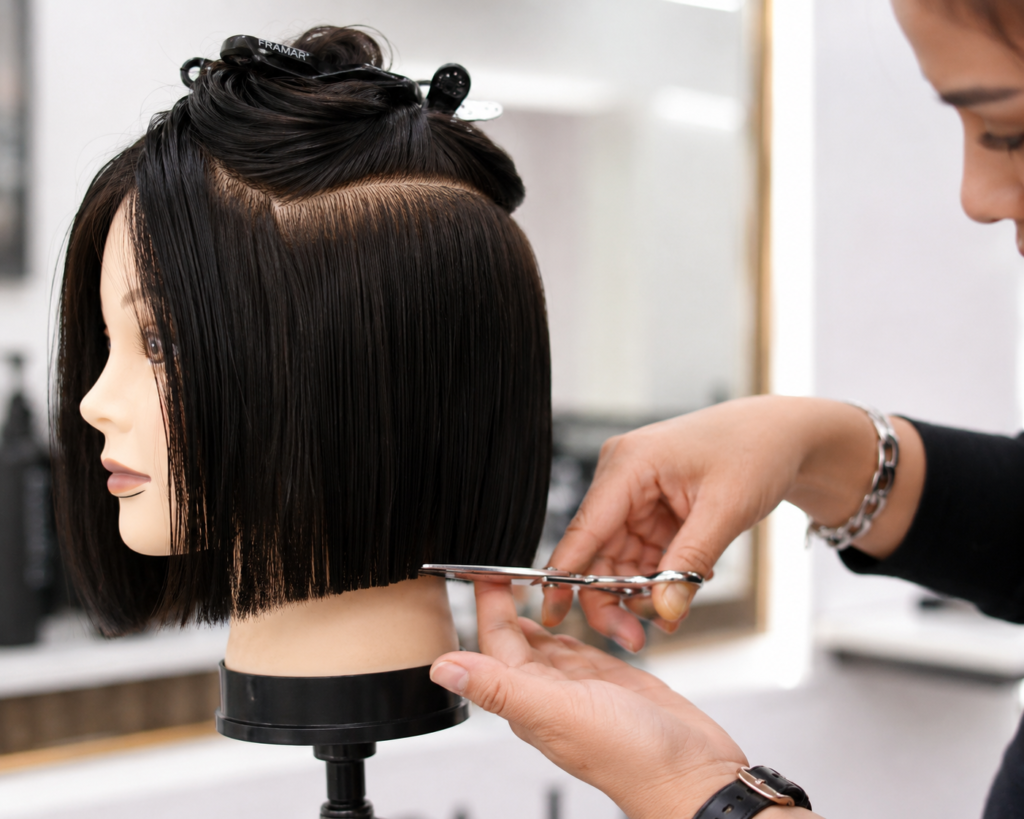
With all the bundles in place the wig on your mannequin head or put it on yourself for shaping. Wearing it while you cut gives you the most accurate idea of how the length is actually falling.
Some bob styles you can try:
Cut in small sections using sharp scissors, and keep checking both sides to make sure the length is even. It is very easy to cut more off one side without realising, so take your time.
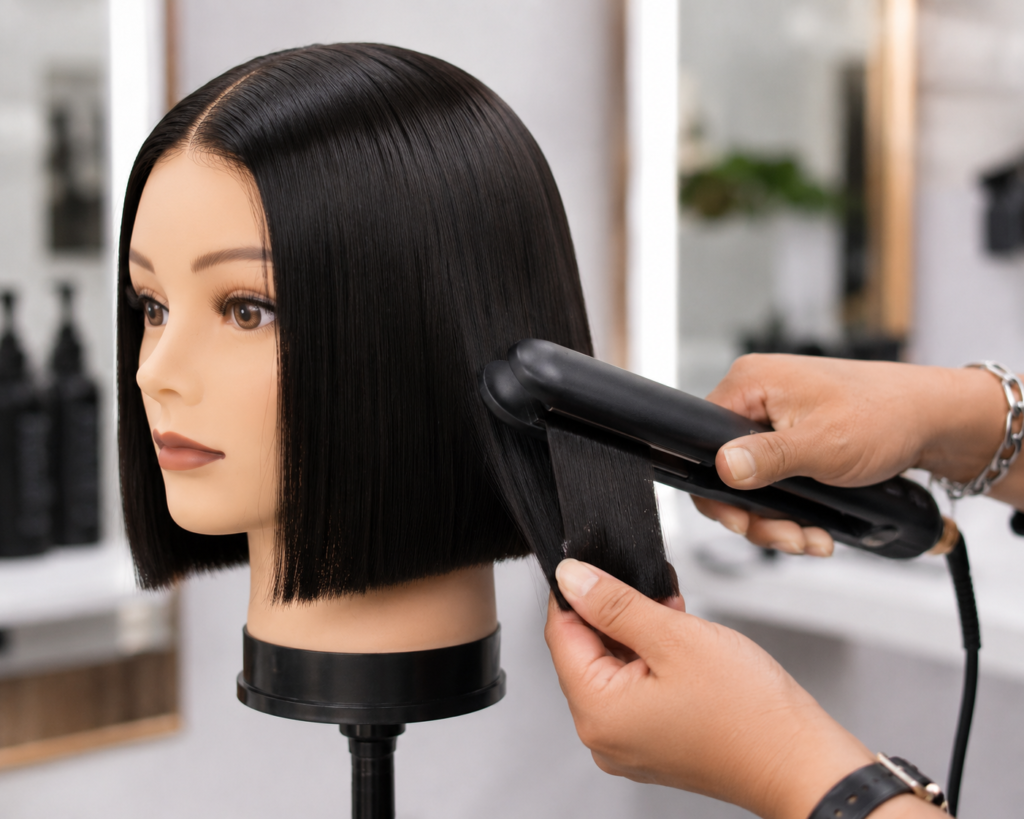
Now for the fun part. Human hair gives you a lot of options, so style it however suits you. Straighten it for a clean, sleek look, add some curls if you want more volume, or create a side or middle part for a finished, intentional feel. To make the hairline look as natural as possible, apply a little edge control gel along the lace and smooth down the baby hairs.
Tips for a Professional-Looking Bob Wig
A 360 lace closure is a lace piece that runs around the perimeter of the head, creating a natural-looking hairline and allowing for versatile styling options.
Most bob wigs require two to three bundles, depending on the desired length and fullness. Shorter bob styles generally need fewer bundles than longer styles.
A 360 lace closure provides lace coverage around the entire perimeter of the head, while a frontal typically covers only the front hairline. The best option depends on your styling preferences and desired look.
Yes. With the right tools, patience, and basic sewing skills, beginners can successfully make a bob wig using a 360 lace closure.
Human hair bundles are often preferred because they provide a more natural appearance, greater durability, and more styling flexibility than synthetic hair.
The process can take anywhere from two to five hours depending on your experience level, the wig construction method, and the amount of styling required.
Yes. You can straighten, curl, trim, and customise your bob wig to achieve your preferred look, provided the hair is heat-friendly or made from human hair.
Choose a closure that matches your scalp tone, customise the hairline, ensure proper fitting, and style the wig in a way that complements your face shape.
A well-constructed bob wig made with quality human hair can last for several months or even years with proper maintenance and storage.
A bob wig with a 360 lace closure offers a natural-looking hairline, styling flexibility, lightweight wear, and a polished appearance suitable for both everyday and special occasions.
Kinky curly hair extensions have become a favourite choice among
Let’s talk seduction for a hot minute, ladies… A truly
Oud has quietly moved from being a niche Middle Eastern
Get exclusive beauty tips, product launches, and special offers directly to your inbox.
We use cookies to improve your experience on our site. By using our site, you consent to cookies.
Manage your cookie preferences below:
Essential cookies enable basic functions and are necessary for the proper function of the website.
These cookies are needed for adding comments on this website.
Statistics cookies collect information anonymously. This information helps us understand how visitors use our website.
SourceBuster is used by WooCommerce for order attribution based on user source.