
How to Make a Bob Wig with a 360 Lace Closure: A Complete Beginner’s Guide
Bob wigs are one of those styles that never really


Braiding with human hair extensions is one of the best ways to achieve fuller, smoother, and more natural-looking braids. When done correctly, the style blends seamlessly with your natural hair and lasts well without unnecessary stress on your scalp.
However, the difference between neat, long-lasting braids and bulky or uneven ones usually comes down to technique, not just the quality of the hair.
Human hair extensions behave more like natural hair than synthetic fibres.
They are softer and more flexible, which makes them easier to style but less structured during braiding. This means your control, especially with sectioning and tension, plays a much bigger role in the final result.
Unlike synthetic hair, they do not seal with hot water. Instead, the finish depends on how well you secure the ends and manage the braiding process from start to finish.
The advantage is a softer, more natural look with better movement and less stiffness at the ends.
It is also worth noting that human hair extensions are more sensitive to product buildup.
Using too much gel or heavy creams during installation can weigh the hair down and affect how cleanly the braids hold over time. Light, targeted product application works best.
Having everything within reach before you begin makes the process smoother and helps you maintain consistency from the first braid to the last.
Here is what you will need:
Before you start, also pre-portion your extensions into small, even bundles. Working from a pile of loose, unseparated hair slows you down and makes it harder to keep each braid consistent in thickness.
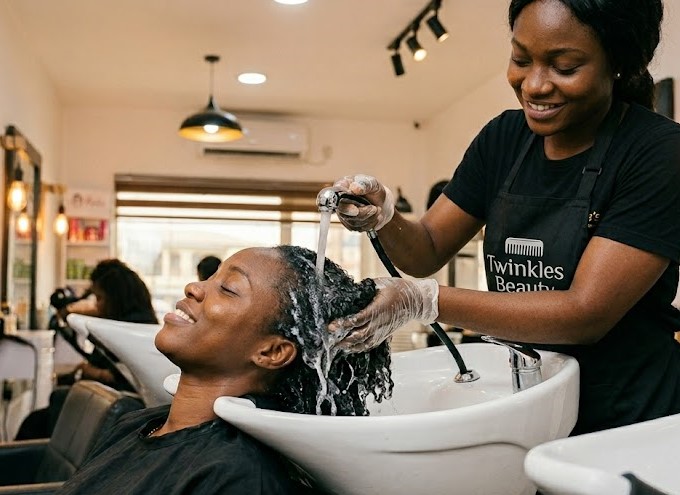
Start with clean, well-moisturised hair. Detangle thoroughly to remove any knots, then stretch your hair slightly using low heat or a heatless method like banding or African threading.
Stretched hair is easier to grip, sits flatter at the roots, and blends more smoothly with the extensions. Braiding on shrunken or overly moisturised hair can cause the braid to slip or feel slick at the base, making it harder to maintain even tension as you work down.
Proper preparation also reduces breakage at the hairline and edges, which are the most vulnerable areas during installation.
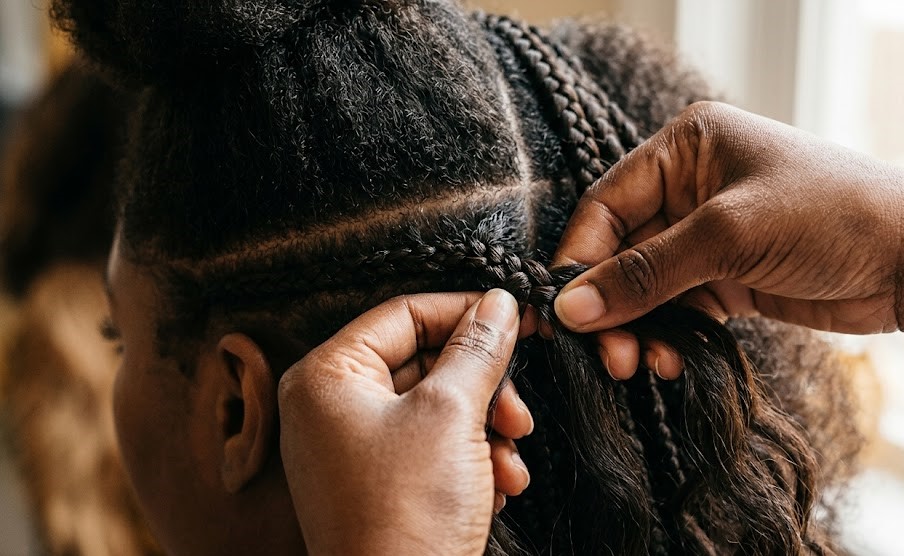
Sectioning is one of the most important parts of braiding, and it is where many beginners lose consistency.
Work in clean rows starting from the back and move gradually to the front. Each section should be even in size and clearly defined using your rat-tail comb.
Clip away the sections you are not working on so they stay out of the way and do not mix with your working section.
The shape of each parting also matters…
Box parts, triangular parts, and straight horizontal rows each give a different final look, so decide on your pattern before you start and stick to it throughout. Switching parting styles halfway through will make the finished style look inconsistent.
Taking your time here ensures the final style looks balanced and professional. If the sections are uneven, the braids will reflect that, regardless of how well you braid.
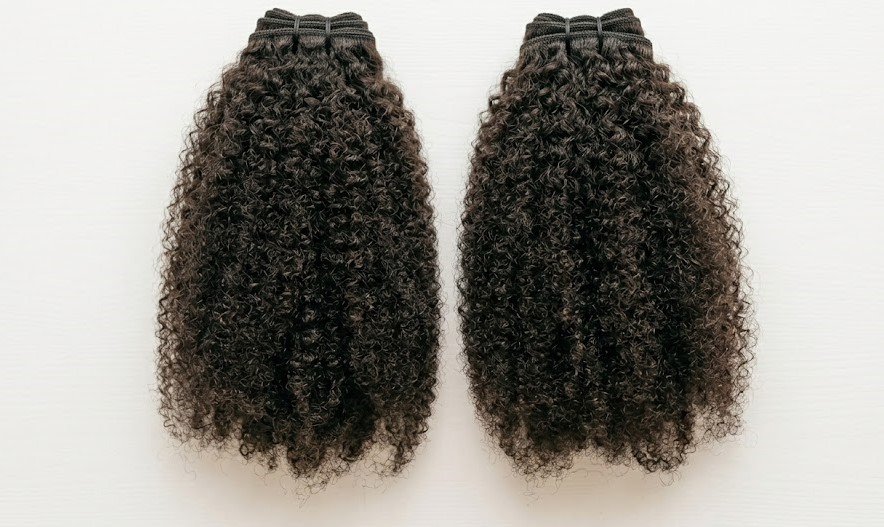
Take small portions of the extensions and gently pull them apart so they are loose and evenly distributed. Human hair extensions are often packed tightly, and failing to separate them properly can cause clumping during installation, which creates uneven thickness in the braid.
Once loosened, lightly taper one end of the extension bundle so it is not blunt. A tapered end blends more naturally into your hair and prevents a visible line where the extension begins.
Make sure the amount of hair you use matches your section size. Too much hair will create bulky roots, while too little can make the braid look thin and uneven.
Divide your natural hair section into three strands. Lay the extension bundle across the middle strand, then begin braiding while holding everything together firmly.
The most important thing at this stage is making sure the extension is properly anchored at the base before you continue downward. If it shifts or slips in the first few crossings, the root will look loose and uneven.
Some stylists use a slight fold or loop technique at the root to lock the extension in place before braiding downward. This creates a cleaner, flatter start and helps the braid sit closer to the scalp.
If you are using the feed-in method, add the extensions in small, gradual amounts rather than introducing the full bundle at once.
Start with a very thin piece of extension hair at the root, then add slightly larger pieces with each crossing as you move down the braid.
This technique keeps the braid flat and natural-looking at the root and allows the thickness to build gradually, mimicking the way natural hair braids look.
Feed-in braids also put less tension on the scalp at the base, which is better for the health of your edges over time.
As you braid, keep your grip firm but controlled. The braid should feel secure without pulling on the scalp.
A useful way to check your tension is to pay attention to how the scalp feels rather than how the braid looks. If you feel any discomfort or tightness, the tension is too strong.
If the braid feels loose or starts to separate between your fingers, the grip is too light.
Try to also keep your tension even from one crossing to the next. Inconsistent tension, where some crossings are tight and others are loose, causes the braid to look uneven and can create bumps or gaps along the length.
Slowing down slightly and focusing on each crossing helps, especially when you are still building muscle memory.
Since human hair does not seal with hot water the way synthetic hair does, the ends must be finished manually.
The most reliable method is tying a small, tight knot at the end of each braid. To do this, take the last inch or two of the braid, loop it around your finger, and pull the tail through to create a firm knot. Done correctly, this keeps the braid intact without the need for heat or extra products.
You can also apply a small amount of light styling gel or edge control to the last few centimetres of the braid to smooth down any flyaways and help the knot hold.
Avoid applying heavy products to the ends, as this can cause buildup that makes the tips look stiff or dull over time.
Even with the right technique, a few common mistakes can affect the final result. Knowing what to watch for makes it easier to correct them early.
They are one of the most frequent issues and usually happen when too much extension hair is added at the start of the braid. The fix is to reduce the amount of hair used at the root and build thickness gradually as you move downward.
These are mostly caused by inconsistent sectioning rather than poor braiding. Going back to ensure each section is the same size and shape before you start will make a visible difference in the finished style.
This usually points to uneven or excessive tension during installation. If the scalp feels sore after braiding, the tension was too tight, and continuing in that pattern risks damaging the hairline over time.
This happens when the extension was not properly anchored before braiding continued. Taking a moment to secure the root firmly before moving downward prevents this from happening.
Correcting these small details makes a noticeable difference in how polished and comfortable the final style looks and feels.
At the end of the day, even though braiding can be learned with practice, achieving consistently neat and balanced results takes time. For more detailed or long-lasting styles, professional installation is often the better option.
At Twinkles Beauty, attention is given to clean sectioning, controlled tension, and proper installation techniques that improve both the look and durability of the braids.
You can book your next salon appointment here for a professional finish.
How long do braids with human hair extensions last? They usually last between 2 to 4 weeks, depending on installation quality and maintenance.
Can beginners use human hair extensions for braiding? Yes. It may take practice, but starting with simple styles helps build confidence and control.
Why do my braids look bulky at the roots? This usually happens when too much extension hair is added at once or not properly distributed.
Can human hair extensions be sealed with hot water? No. They require manual finishing methods such as knotting or the careful application of light styling products.
Are human hair extensions better for braiding? They give a more natural and flexible finish, but they require better technique and handling than synthetic hair.
Bob wigs are one of those styles that never really

Kinky curly hair extensions have become a favourite choice among
Let’s talk seduction for a hot minute, ladies… A truly
Get exclusive beauty tips, product launches, and special offers directly to your inbox.
We use cookies to improve your experience on our site. By using our site, you consent to cookies.
Manage your cookie preferences below:
Essential cookies enable basic functions and are necessary for the proper function of the website.
These cookies are needed for adding comments on this website.
Statistics cookies collect information anonymously. This information helps us understand how visitors use our website.
SourceBuster is used by WooCommerce for order attribution based on user source.